Please note: This is not an instructional presentation on how to use the nanoVNA to tune your antenna, but rather a simple primer on how I deploy mine in the field and why. There are tons of videos on YouTube that will show you how to deploy the VNA in a tuning operation and at some point I will probably do that here, but I wanted to share the idea of USING the VNA to tune the antenna WITH the antenna tuner prior to hitting the transmit key and protecting your radio transmitter finals. With that out of the way, let’s dig in!
Something I have always hated doing is the whole tuning operation and transmitting while I did it. Just screams of poor operating practices to me for some reason. I know it is needed though, so I do it… Till now. You see, some radios don’t have an internal antenna tuner built into them, like my TenTec Argonaut 5. This radio is a joy to use but you either need resonant antennas or a tuner to match the radio to the radiator.
Enter the nano VNA (Vector Network Analyzer)… I found out about these little devices from my friends Aaron and Roger and finally got one for myself. Back in the day, about 15 years ago, these little pocketable widgets would set you back about 20,000$ and were the size of a suitcase! Now, technology has caught up and these things are very affordable (about 50$ US) and are even battery powered so you can take them to the field easily.
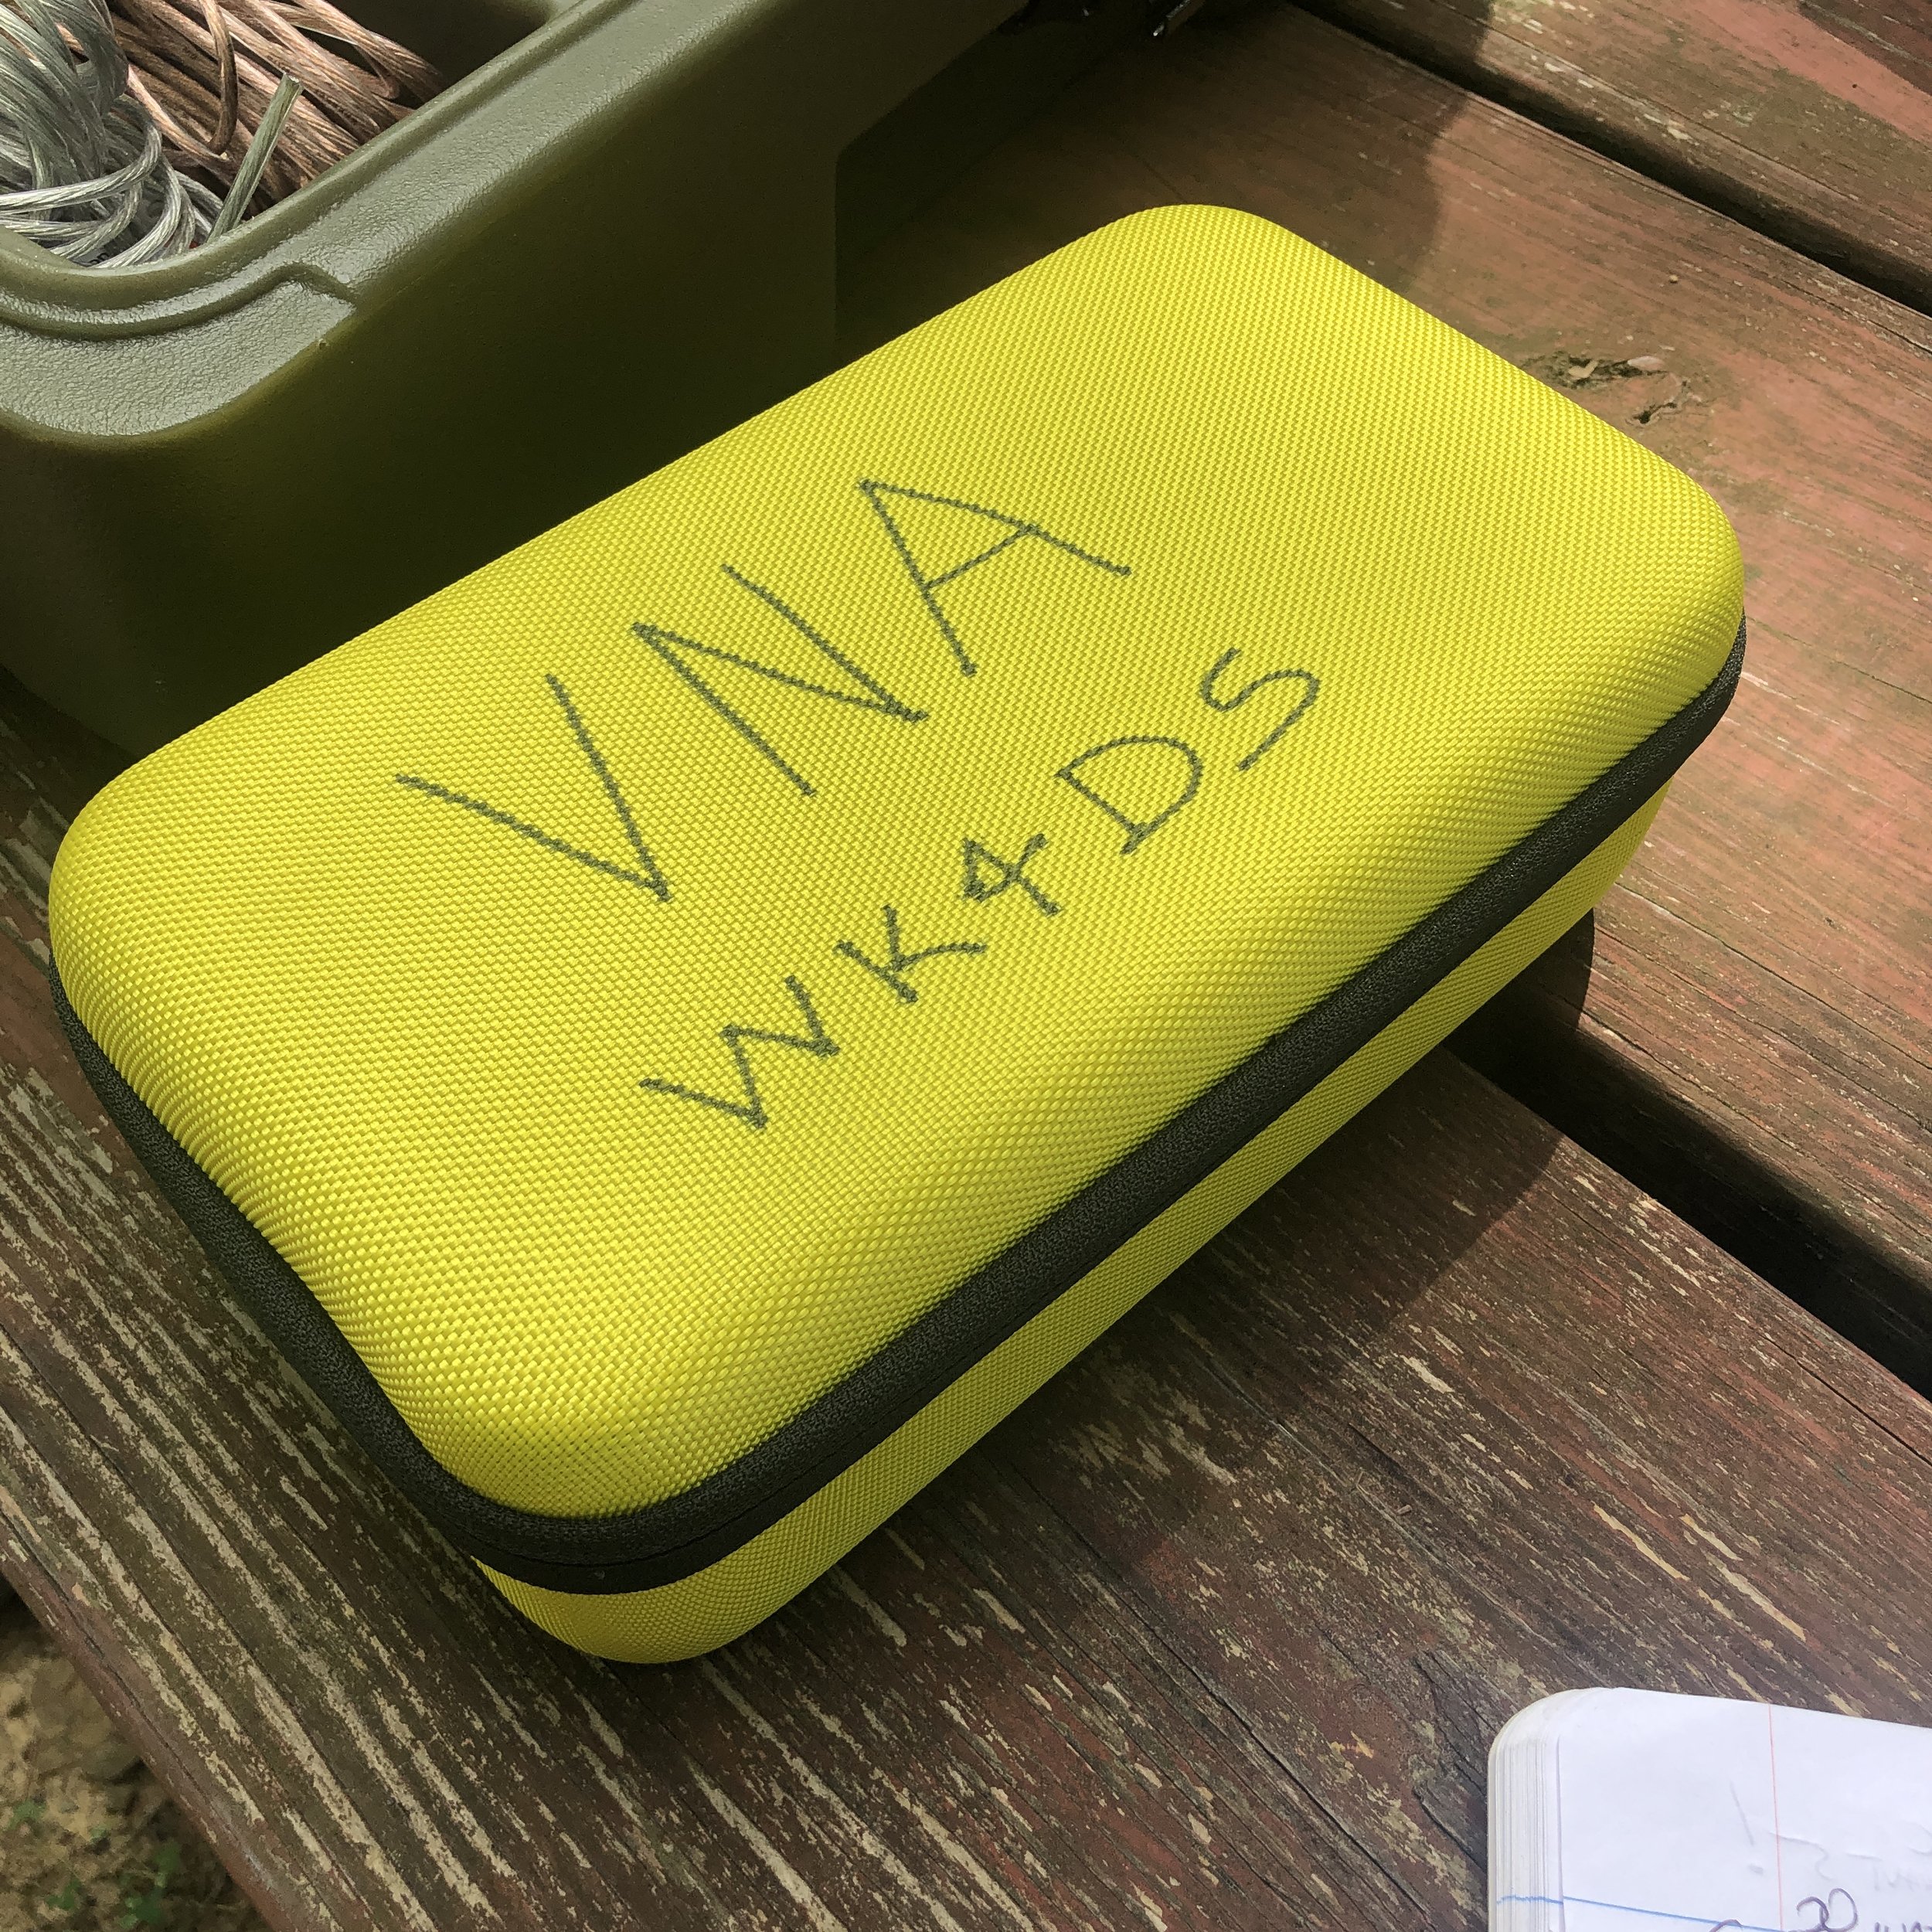
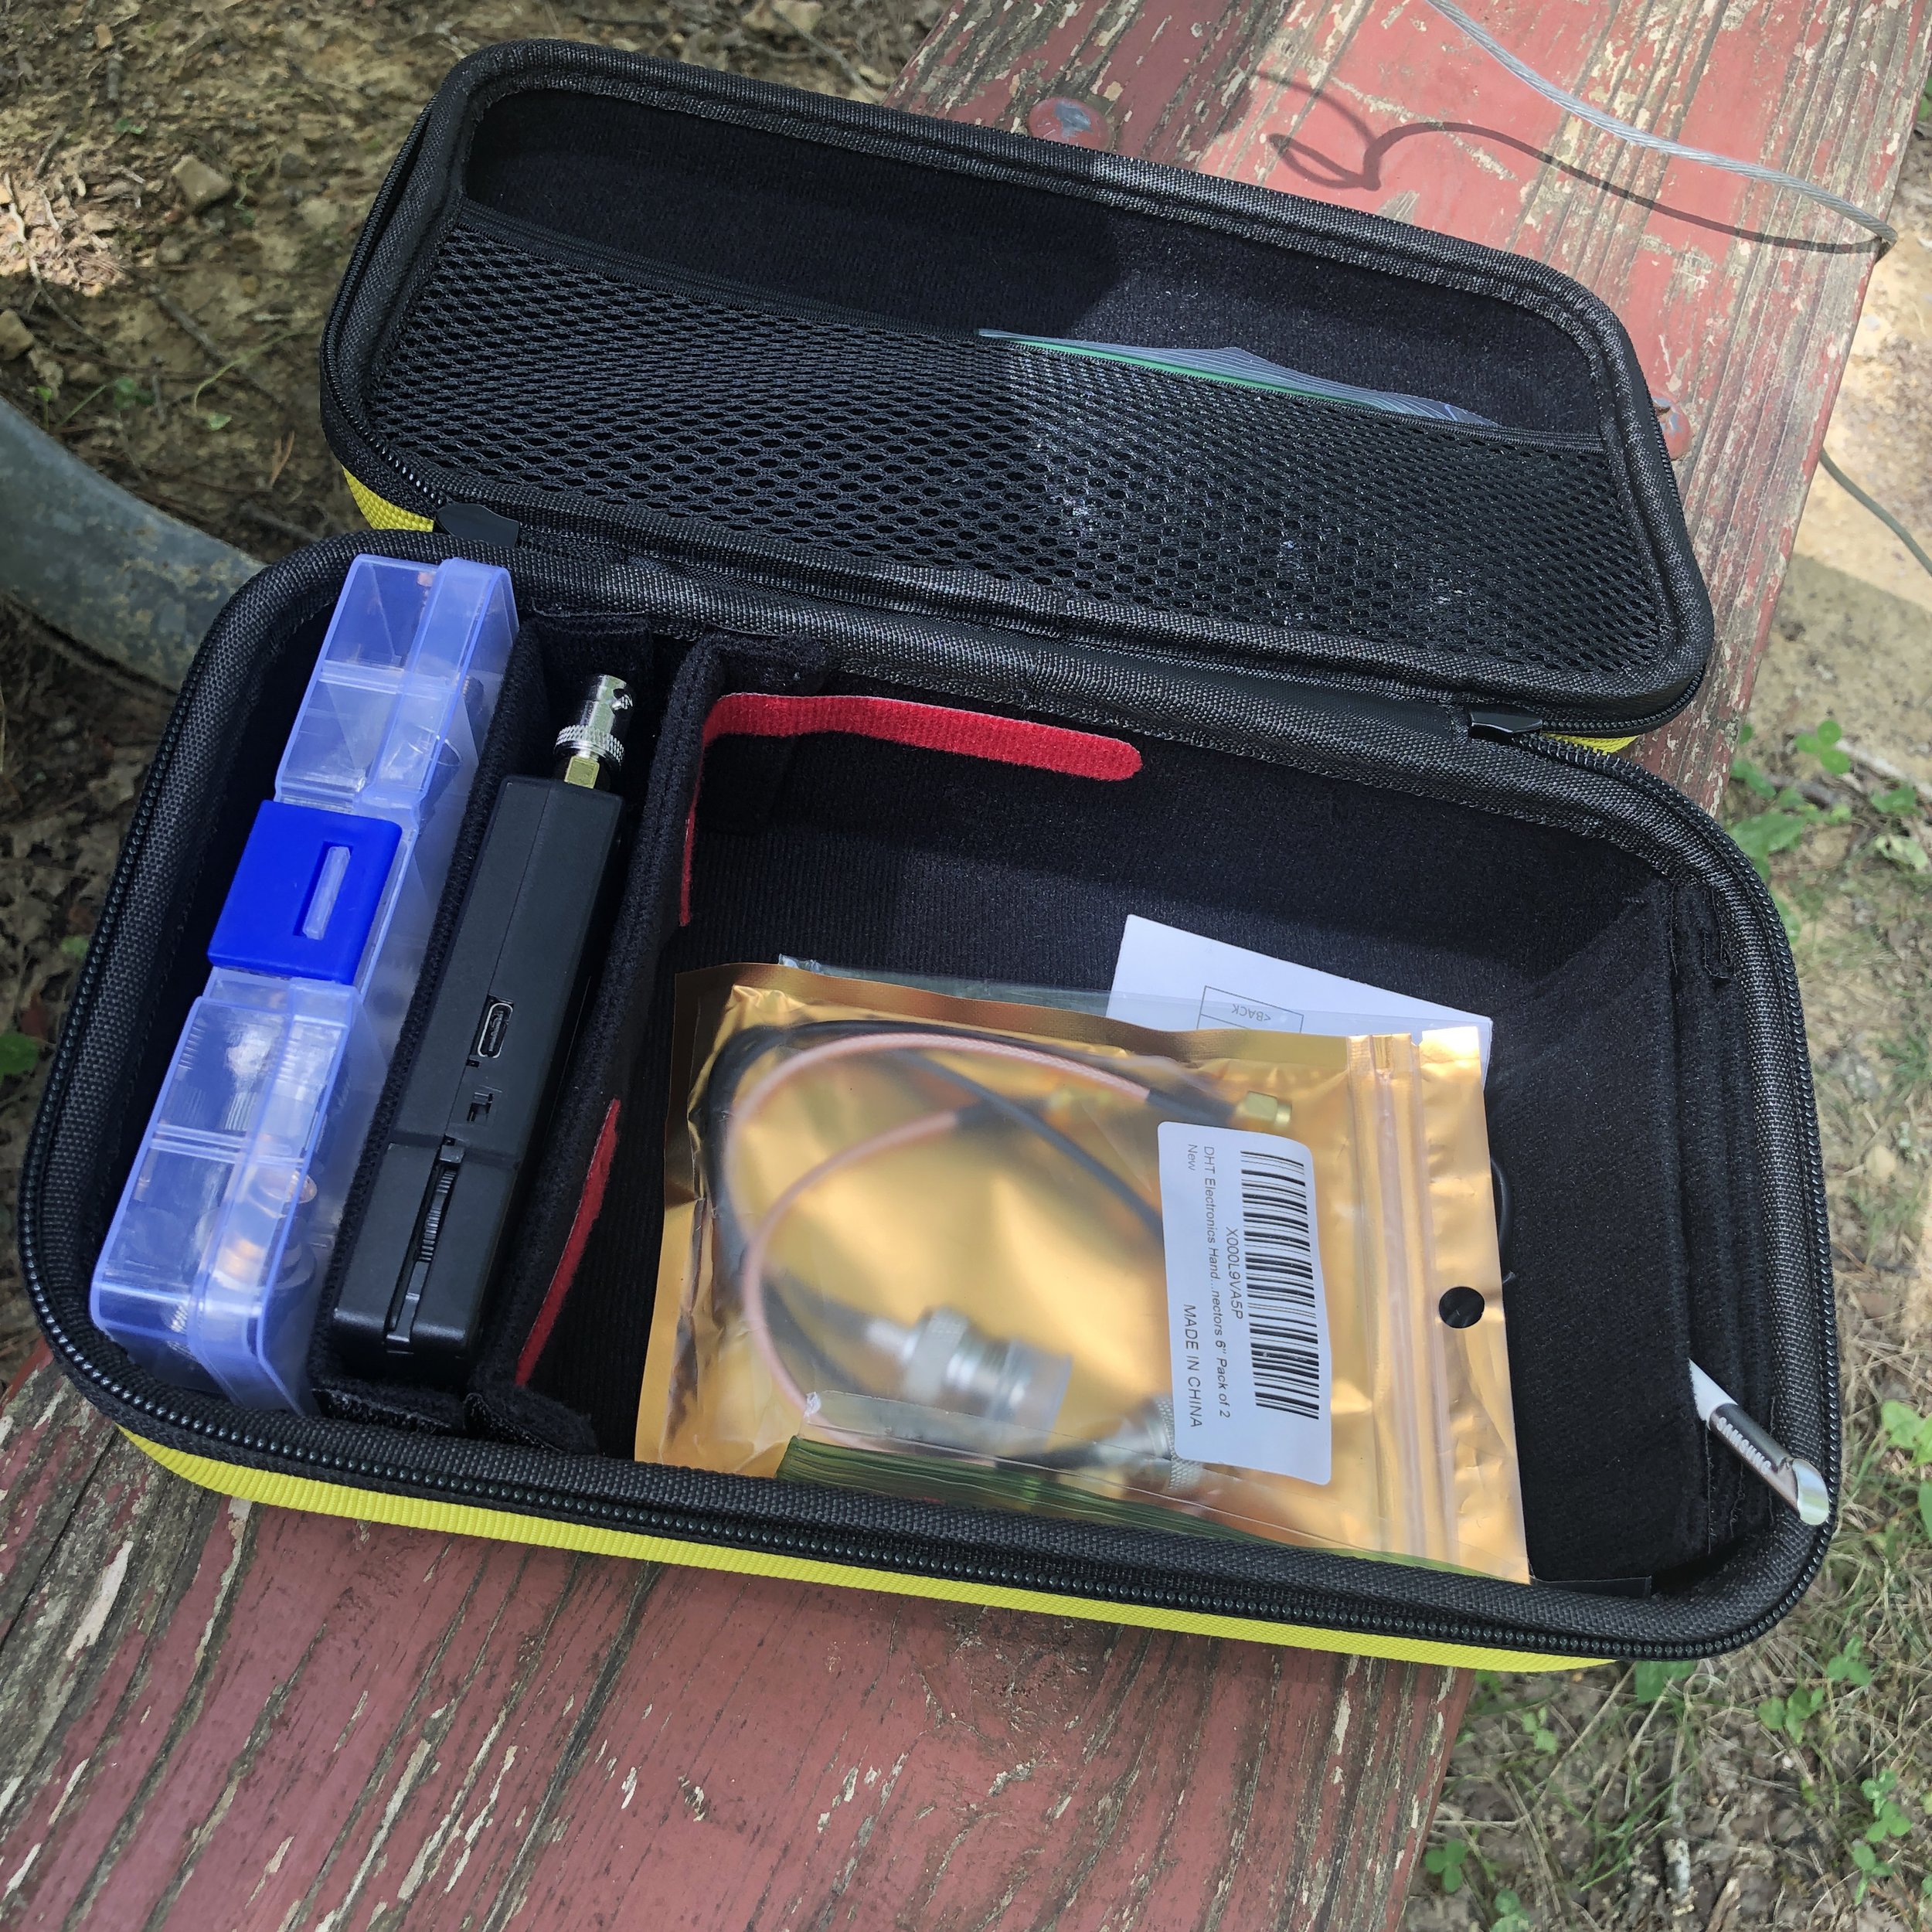
I built this kit for mine with a divider box of adapters (far left in picture), then the nanoVNA is the black device next to that, then the large bin is for cables and such and lastly I have a stylus as it is easier for me to use that than to use the guitar pick looking device that comes with it. This one is recovered from a old Samsung Galaxy Note. I got the case at the Huntsville Hamfest from GigaParts if you want one of them, they probably have them on their website, but I am not sure…
This thing can do all sorts of measurements, but the most often used by me is antenna tuning. If you want to know more about what it can be used for, just search YouTube for nanoVNA and you will get an idea.
In this photo you can see a lot of data being presented on the nanoVNA, such as the frequency range I am testing, two different measurements, one on a smith chart and one on a linear line chart of SWR versus frequency. What the smith chart shows me is a graphical representation of whether the load (antenna) is capacitive or inductive, and what the impendence is at the selected frequency as well. The line graph shows SWR plotted versus frequency and this allows me to maximize the tune for a particular frequency visually, all without risking damage to my radio amplifier section from mismatched impedances or high SWR. The nanoVNA does have a signal generator in it so it is technically transmitting, but it is VERY low energy.
Manual tuners in the past, such as this vintage MFJ 941 worked really well, but are slow and you only get information for the exact frequency you are tuning at (which usually is not the frequency that you are going to use as you dont want to tune up on top of the person calling CQ). This meant long periods of on air transmitting a carrier tone while adjusting the controls on the tuner to add capacitance or inductance to the the antenna to match as best you can so as not to damage the radio.
Radios like this old Ten Tec Argonaut 5 do not have automatic internal antenna tuners in them and even a lot of newer radios don’t have these tuners in them to be honest. These radios either need a tuned antenna that has been built for specific frequencies or a tuner to match the non-resonant antenna to the radio. The nanoVNA allows the operator to tune easily and this happens much faster than on air tuning. Tuning this way also protects the radio in the process. What I really like is that I can see if the bandwidth of good matching SWR to the radio so I know immediately that I can tune the VFO around and not have to retune the antenna while I am on one certain band. Some antennas and some bands don’t play well together and you can see this too… graphically. This allows you to know that on those particular bands, you will need to tune when you leave the safe zone of swr. It is so much more powerful to tune your antenna with this little device.
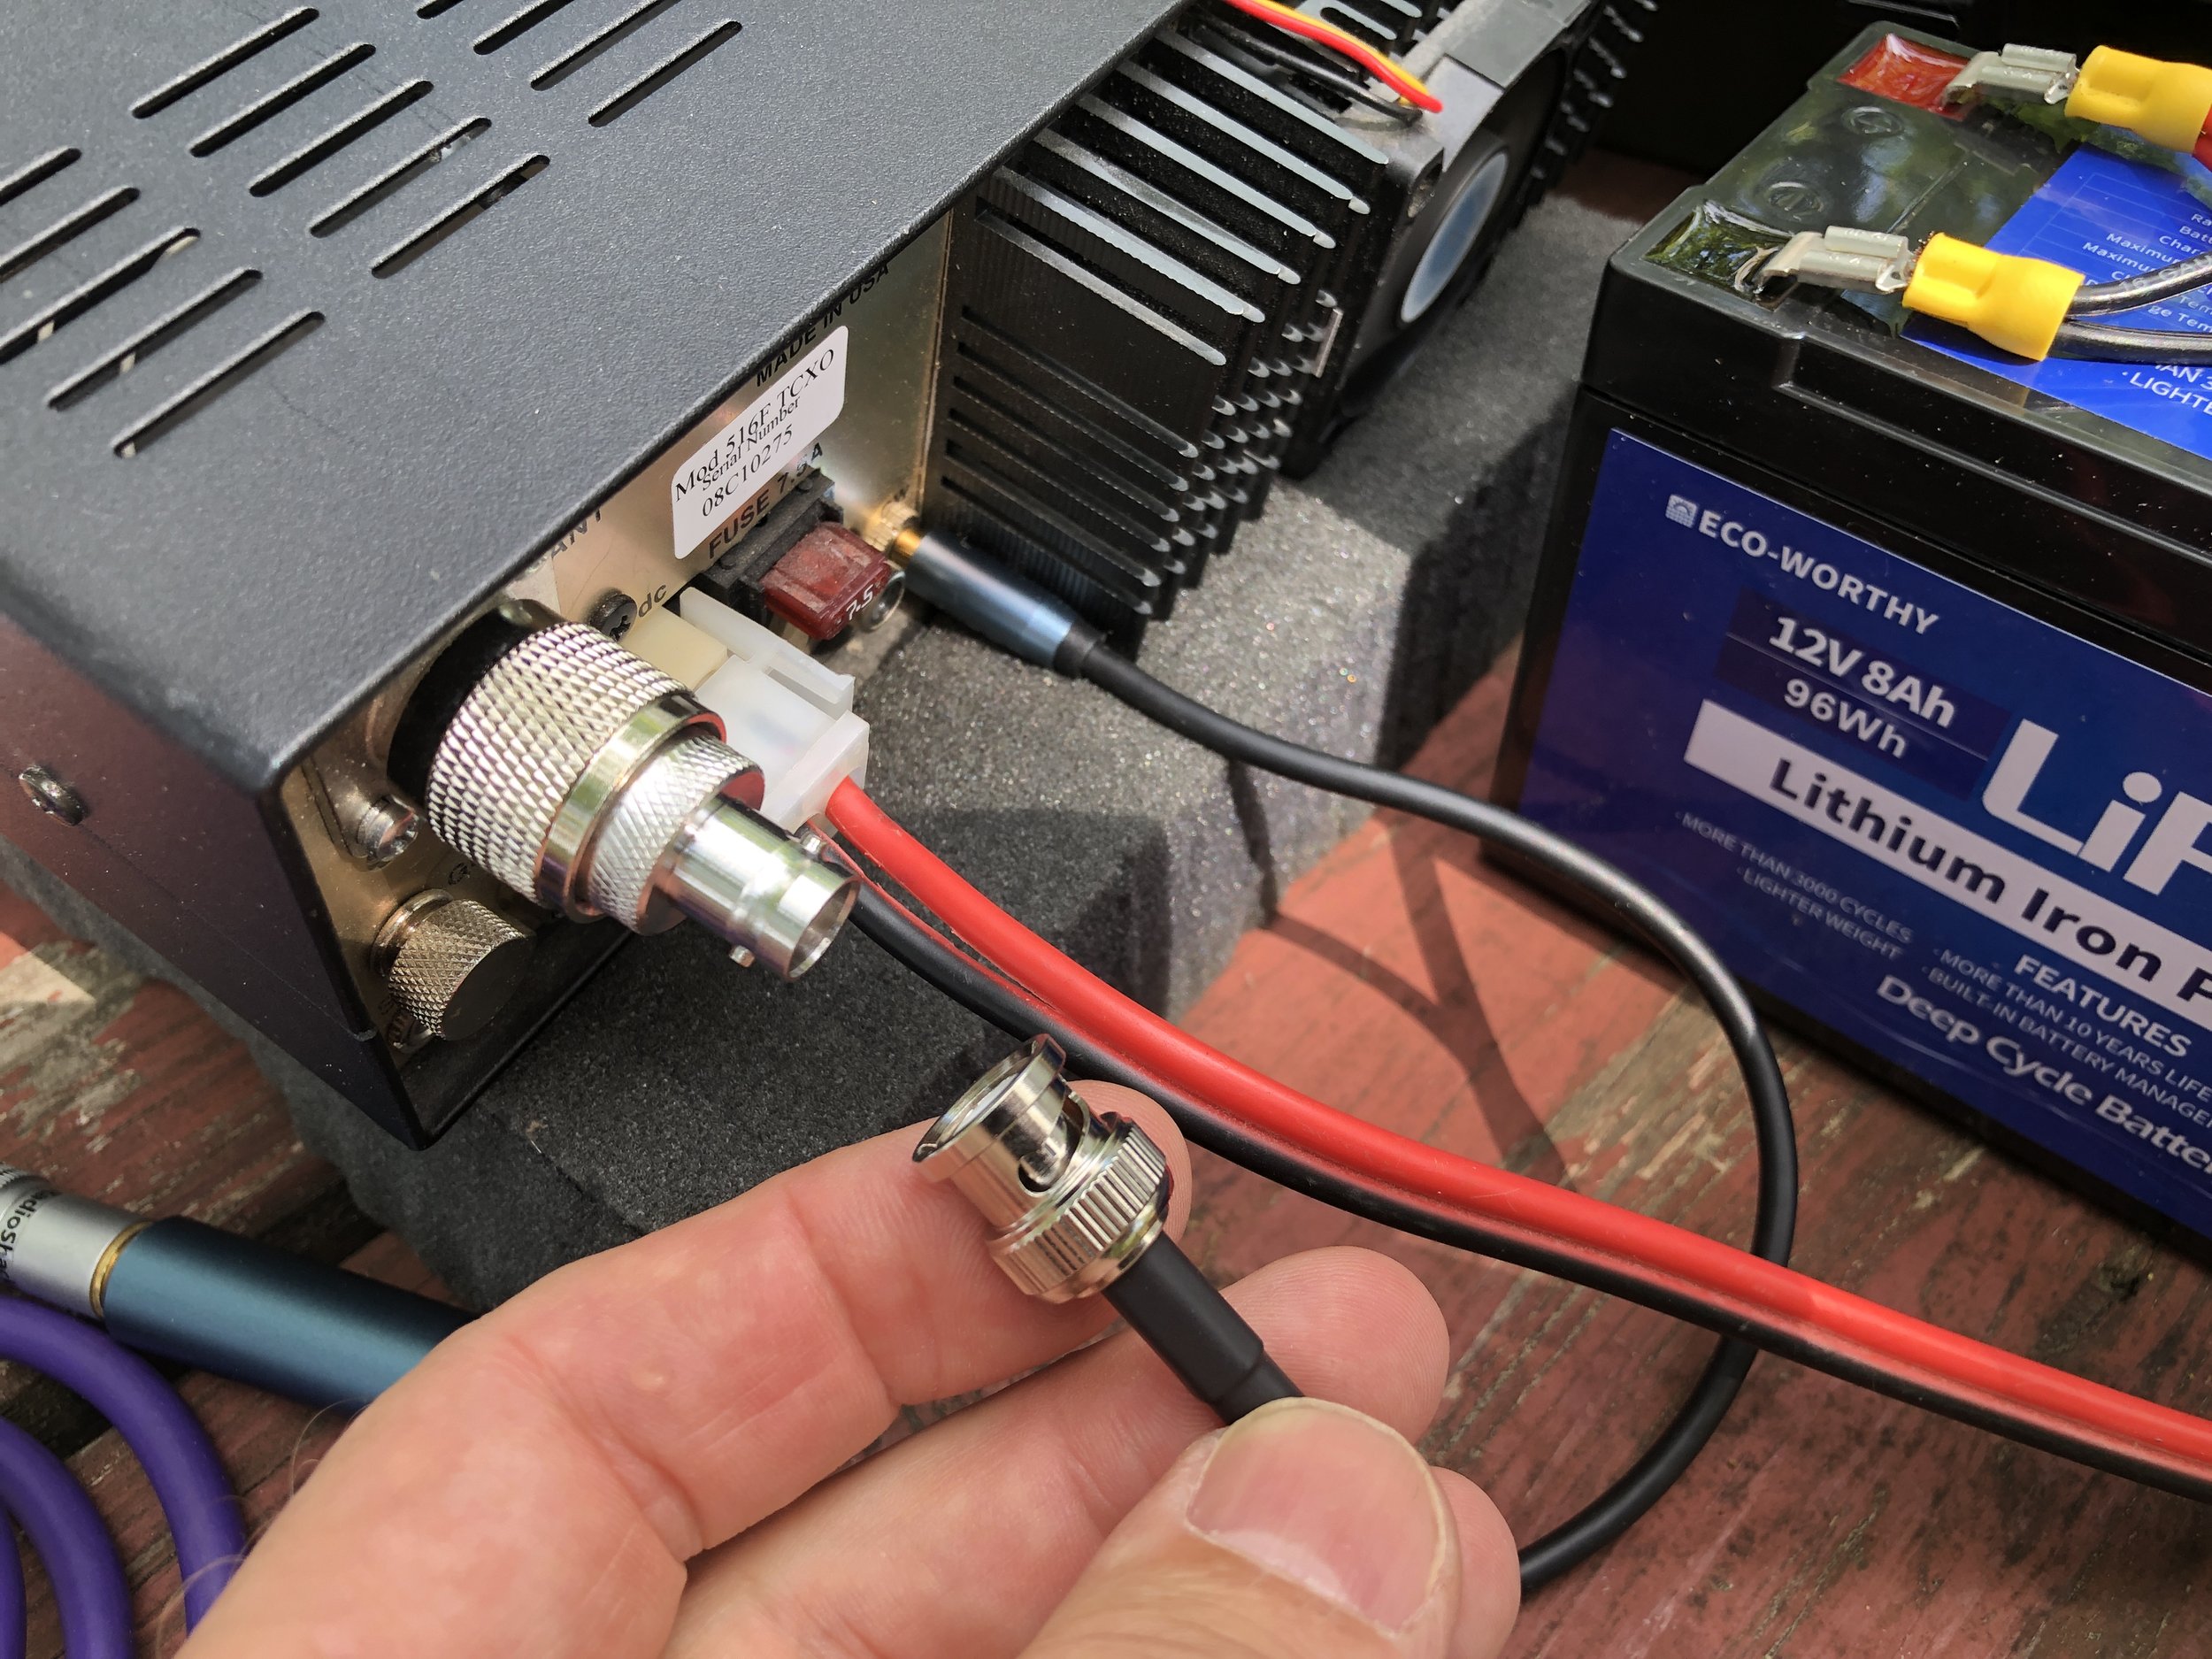
This is the setup I use to be able to easily connect the nanoVNA to the antenna while out on location. The radio comes equipped with SO239 connectors so the antenna has to be screwed on to the radio with a coax cable normally. The modification I made, to make this process super fast, is to add a PL 259 to male BNC adapter. Then I add a SMA to BNC to the nanoVNA and now I can simply and quickly remove the coax from the radio and connect it to the VNA for analysis.
I also made a simple note page to get me close when i go from one band to the other. This way the time to get back to a tight tune is even faster. I also made some notes about how many radials and such. I keep these notes in the case with the radio and tuner.
This has been my biggest blog to date and I really liked writing this one for you. If you have any questions, just drop them in the comments below and we will try to get you an answer as soon as possible. If you think tuning your antenna like this is a good idea, you can find these on Amazon with a simple search. Also, they really are inexpensive. You can also get all of the adapters or accessories on amazon as well. It is all there, all the training you will need can easily be found on YouTube as well, plus some… Now go get on the air!
72
David
WK4DS


